


Example: Zweispalter
Welcome to the sample page. Here you’ll find a sample layout that works well for many pages – you can copy the page and then adapt the content to suit your needs. If you’d like to work with this template, right-click on the page “Short sample page with image” in the page structure and select “Copy”. Then, right-click again and select “Insert into” (subpage) or “Insert after” (another page on the same level) to insert the page where you want your new page to be.
On your newly copied page, you can delete any elements you don’t need to create your content. If you need further elements, click on the “Available content elements” example page. Click on the three dots next to the element you want to insert into your page, then click “Copy”. Then go back to your page. Here, you will find a clipboard icon wherever the element can be inserted. Click on it to insert the element at the desired location. If the copied element is inactive, activate it using the slider.
If you have less text at this point, you can also switch to a single-column layout. Copy this from further down on this example page or from the “Available Content Elements” example page. You can also insert it into the page structure using the “Create New Content” button. Under “Container”, select the “Single-column with 80% width” element.
The heading of this two-column layout can be hidden if required. To do this, select the “Two-column” element in the page layout using the pencil icon and, under the “General” tab, select “hidden” from the “Type” drop-down menu for the heading.
To insert jump marks in your page header, proceed as follows in your page structure: Before each element to which the jump mark should lead, go to “Create new content”, select “Special elements” and then “Hidden jump mark”. Give the jump mark(s) a name. The set jump mark(s) will automatically appear at the top of the header area. They are only visible there; they do not appear in the rest of the page layout.
Example: Highlight box
The Highlight Box allows you to visually highlight individual sections with a light blue background. This is particularly useful, for example, for short, important passages of text.
For the text in this example, a single-column layout with 80% width has been selected. Other content elements can also be inserted into the Highlight Box, e.g. two-column layouts. Headings can be hidden for all content elements. However, they are generally helpful for structuring the page.

Example of a text media element
There is space here for your text. You can position the image to the right or left of the text. Make sure that the text does not extend beyond the height of the image in the desktop view. For longer texts, it is better to insert a new single- or two-column section below the text media element.
If you wish to add a caption, click on “File list” in the left-hand menu bar. Add your caption here and then return to your page. The caption will then appear automatically below your images. Please do not insert captions in the text block next to the image.


Example: single-pass and separator
This is an example of a single-column layout created using the “Centred content with 80% width” container. You should always use this container for single-column layouts, as otherwise the text would be too wide on desktop devices and therefore difficult to read.
You can add or remove the “separator” lines above and below this text block – whichever suits your content or the design of your page. They are particularly useful if you
- want to create a clear visual separation between content sections, or
- the elements above and below this block contain few visual elements. In such cases, these separators can be used as a stylistic element.
Please use separators sparingly and only where they make sense for the reasons mentioned.
Separators are standalone content elements and can be added in the page’s “Builder”. To do this, under “Create new content”, select the “Special elements” tab and then “Separator”.
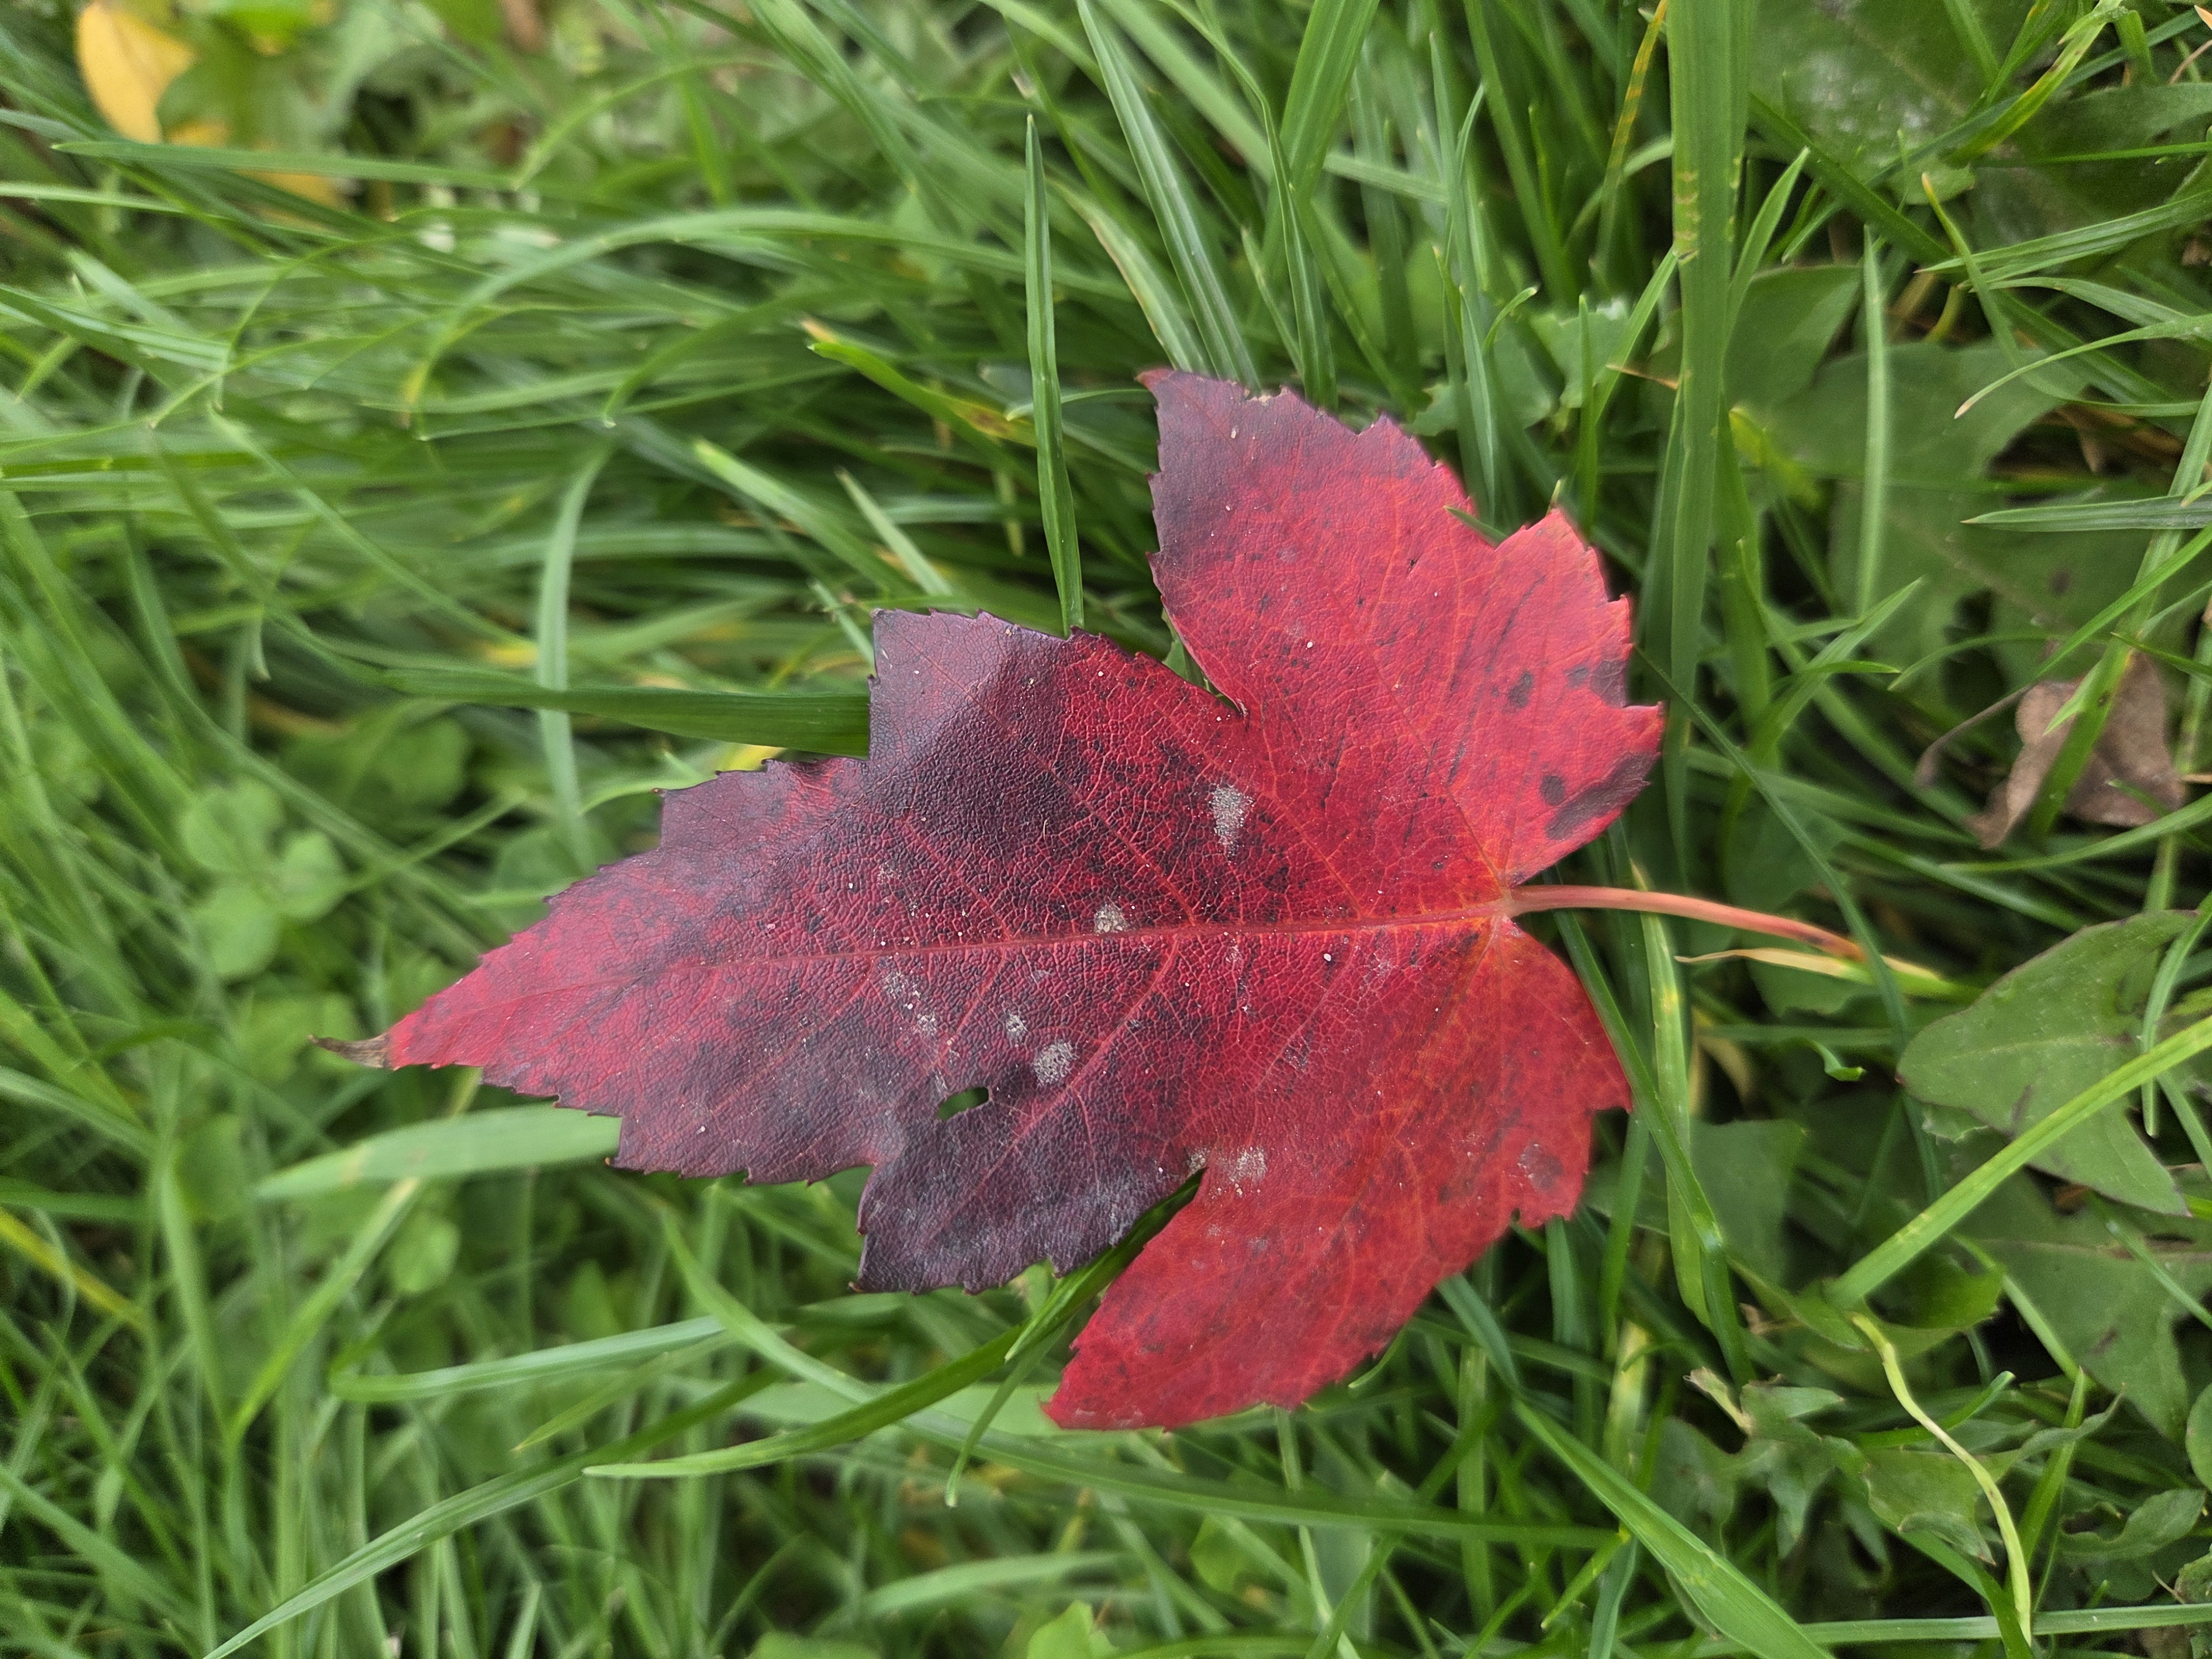
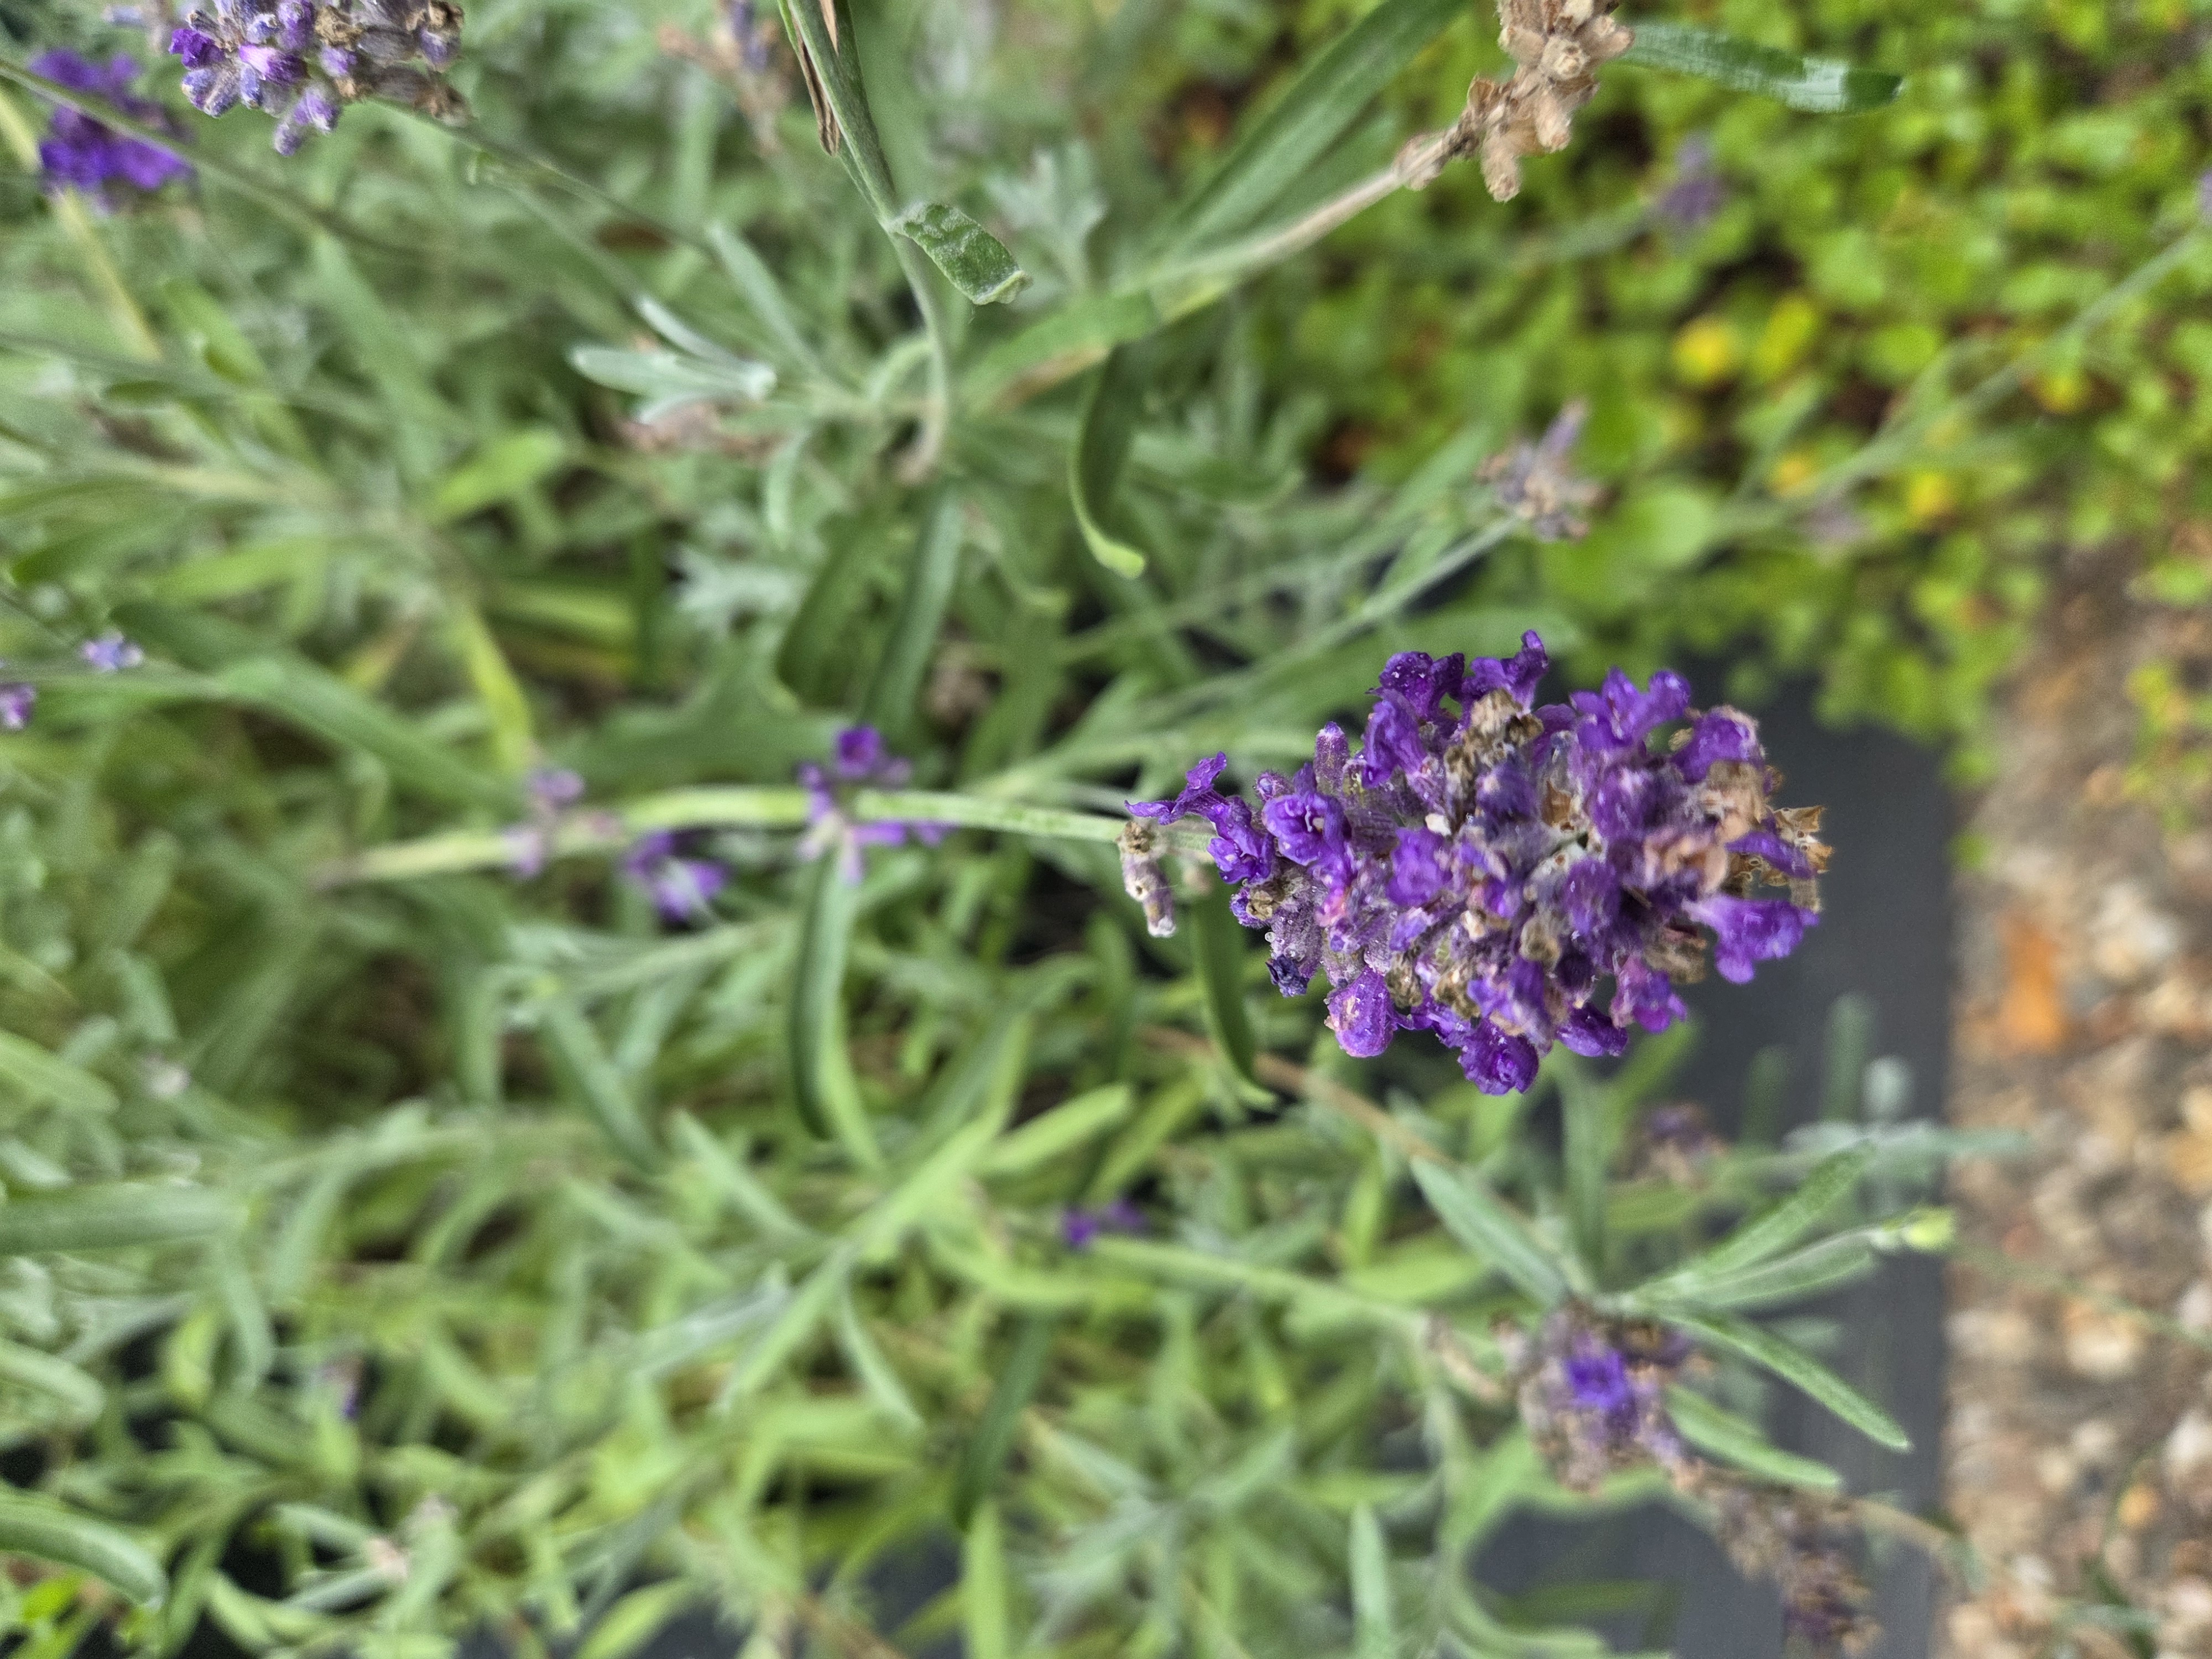
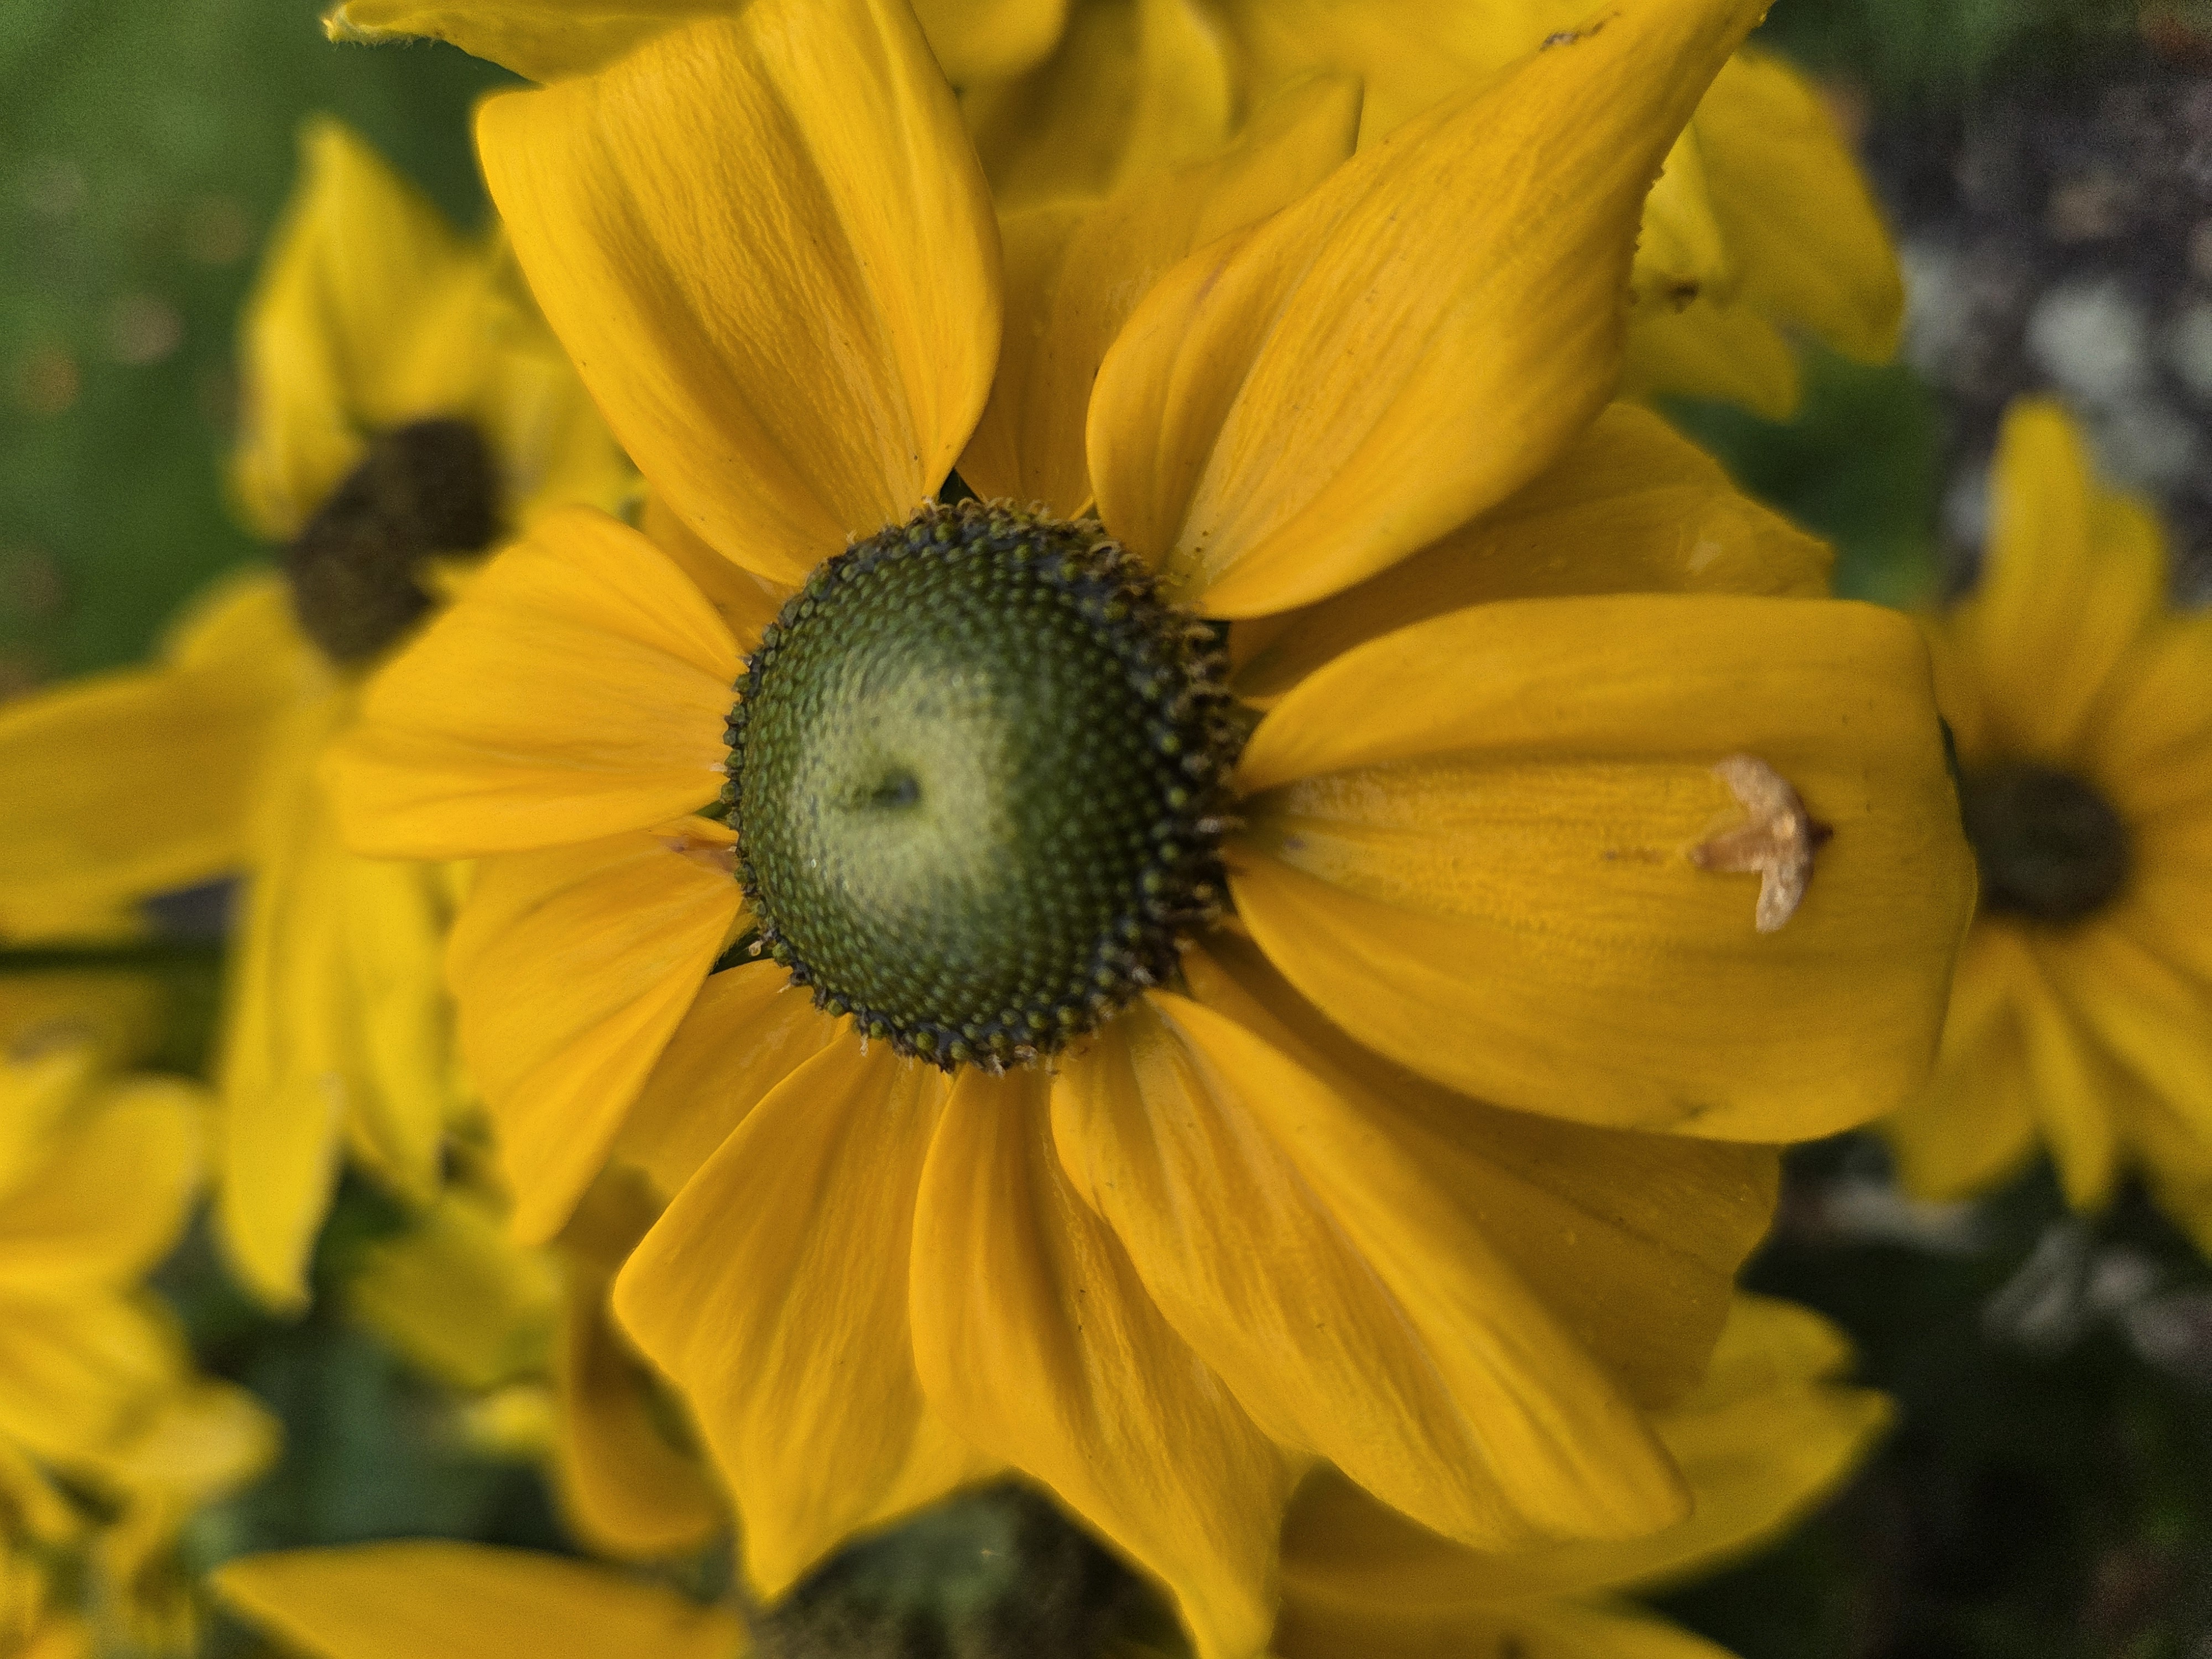
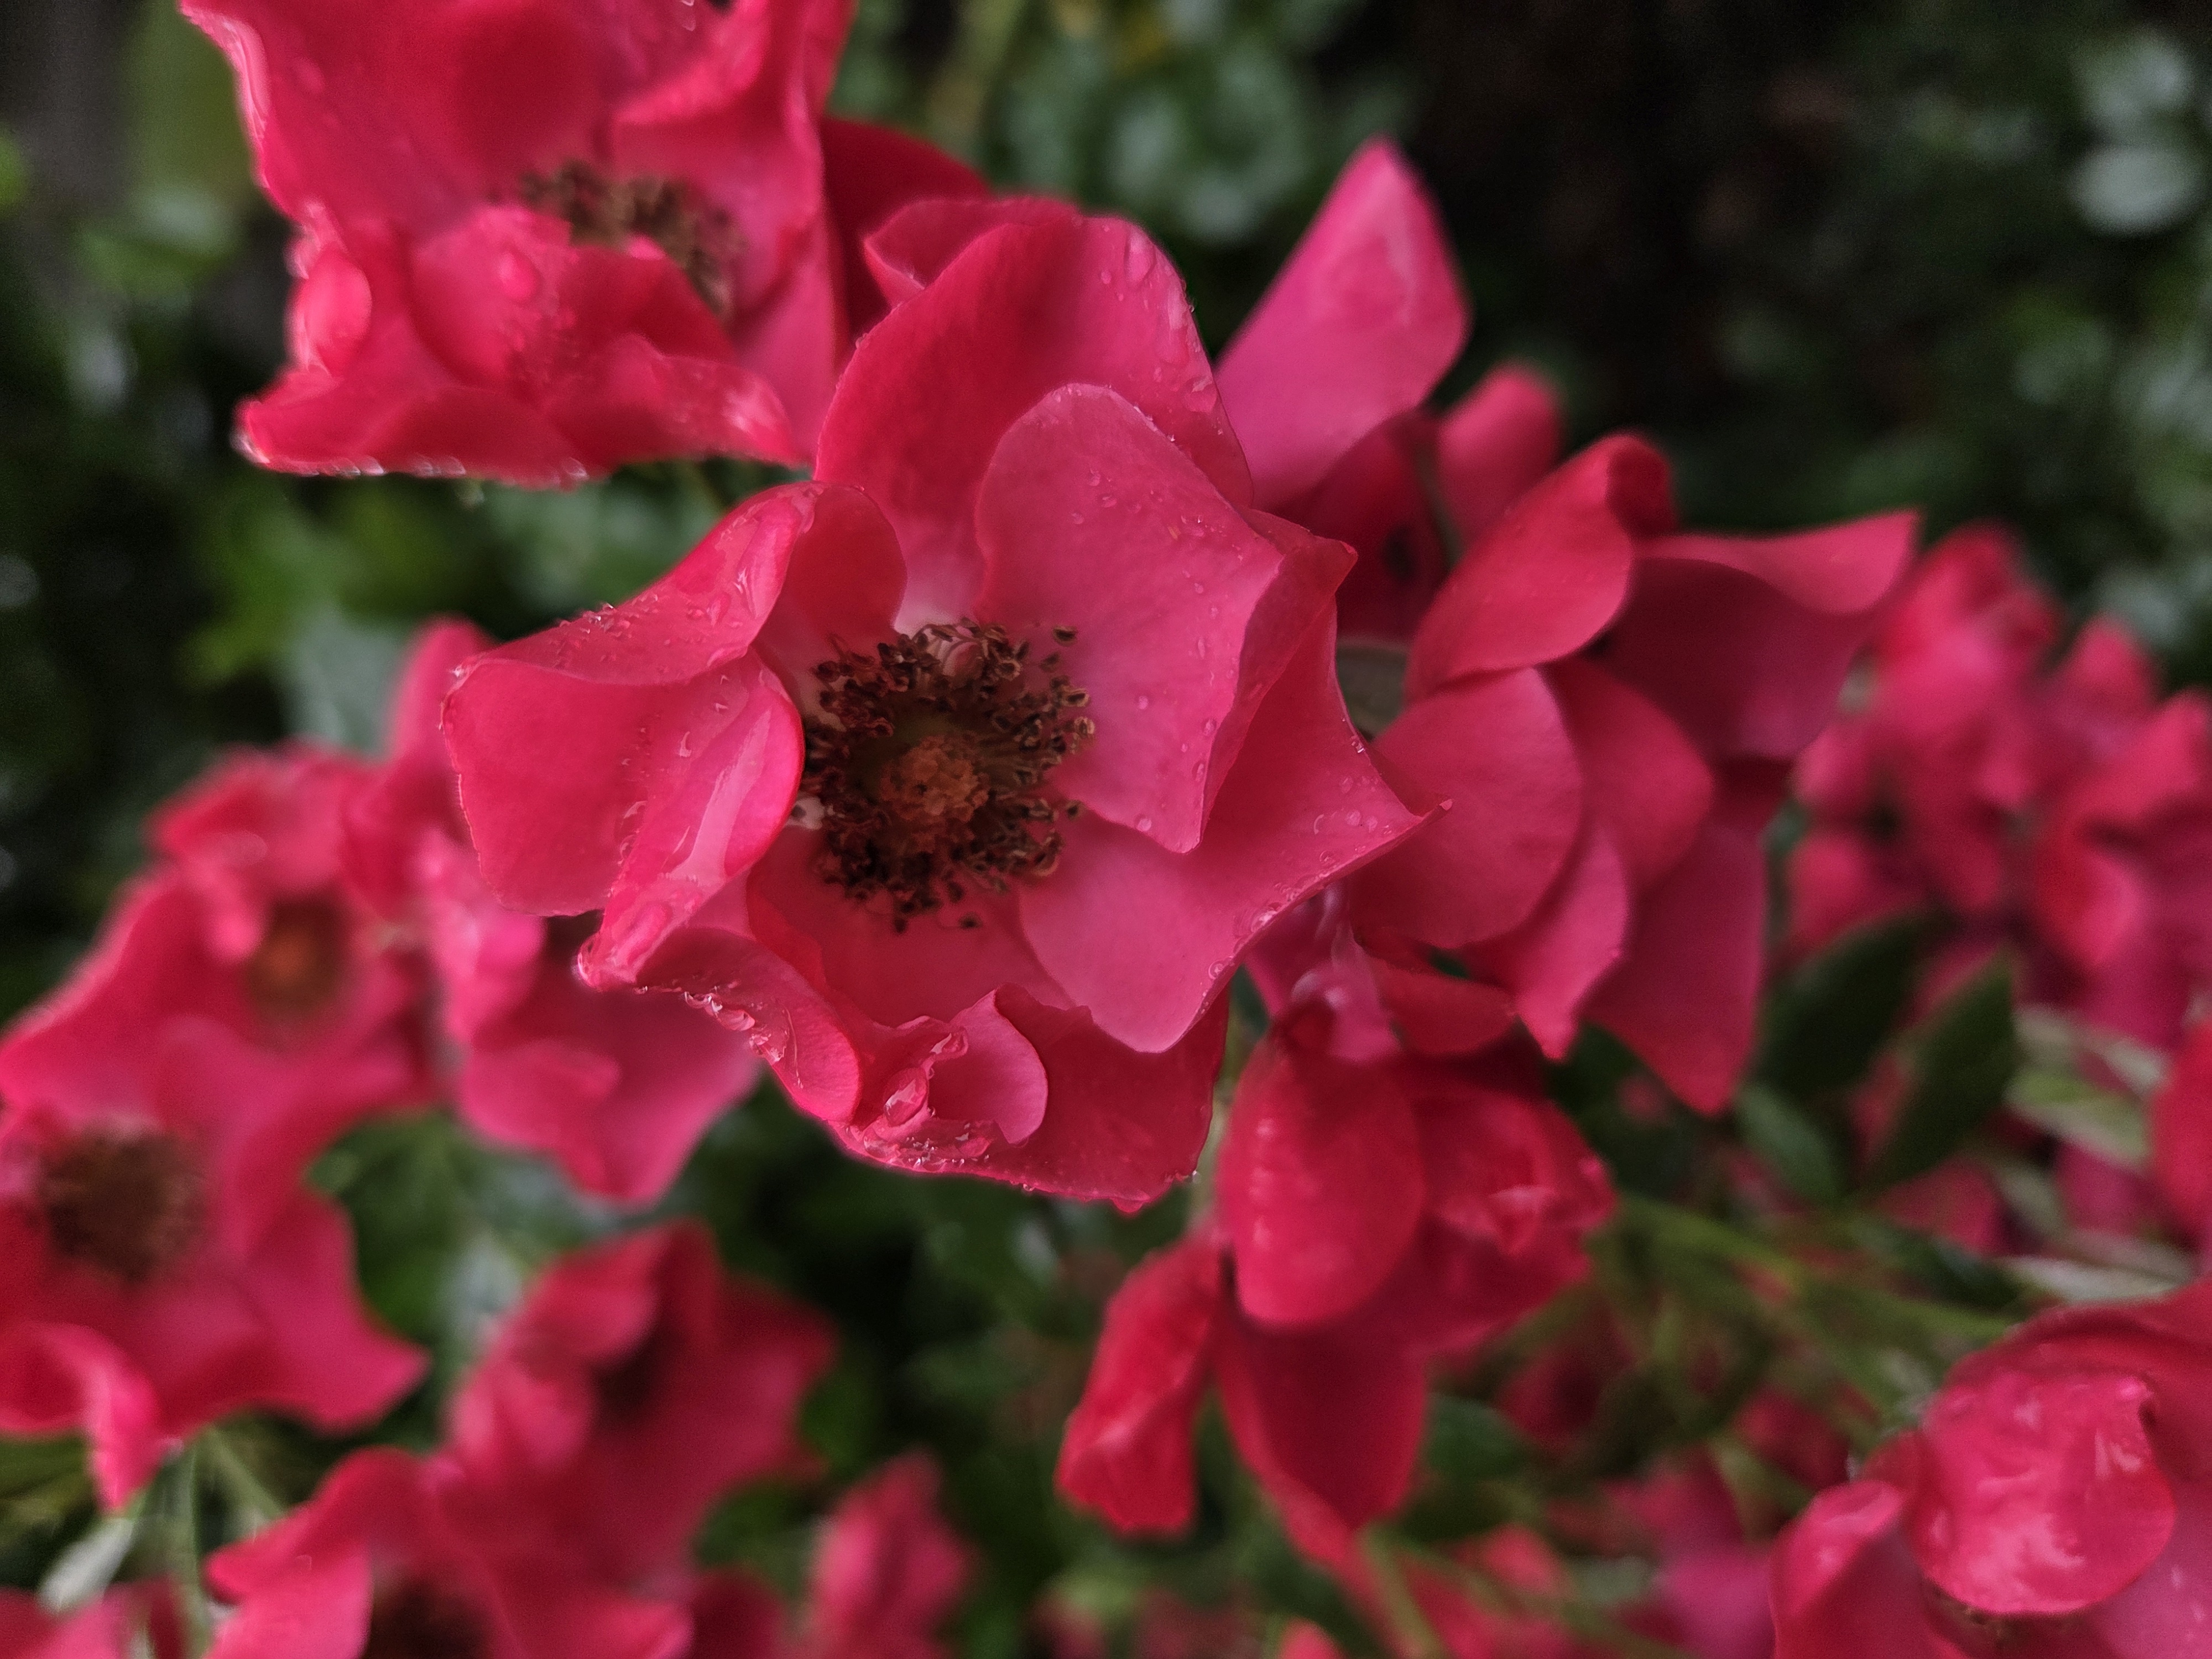
Gallery of examples
-
 Jana Zöller
 -
 Jana Zöller
 -
 Jana Zöller
 -
 Jana Zöller
 -
 Jana Zöller
 -
 Jana Zöller
 -
 Jana Zöller
 -
 Jana Zöller
Example: the accordion
When creating new accordion elements, please ensure that the heading of the text element is hidden. The container group already has a heading (in the example: “Accordion element – text only”). If the text element also had a heading, there would be two, which is generally unnecessary from a semantic point of view and may even be misleading, as they would appear one after the other.

When creating new accordion elements, please ensure that the heading of the text media element is hidden. The container group already has a heading (in the example: “Accordion element text and image”). If the text media element also had one, there would be two, which are generally not necessary from a semantic point of view and may even be misleading, as they appear directly one after the other.
Example video
There is space here for a brief description of the video. Please ensure that your video has subtitles.
Example: Downloads section
- Example video: Big Buck Bunny (mp4 - 30 MB) Description: Sample video
- Sample audio (mp3 - 494 KB) Audio file description
- Sample image (png - 663 KB) Description Sample image
- Sample PDF (pdf - 36 KB) File description